Discovering My Kitchen Needed Better Lighting
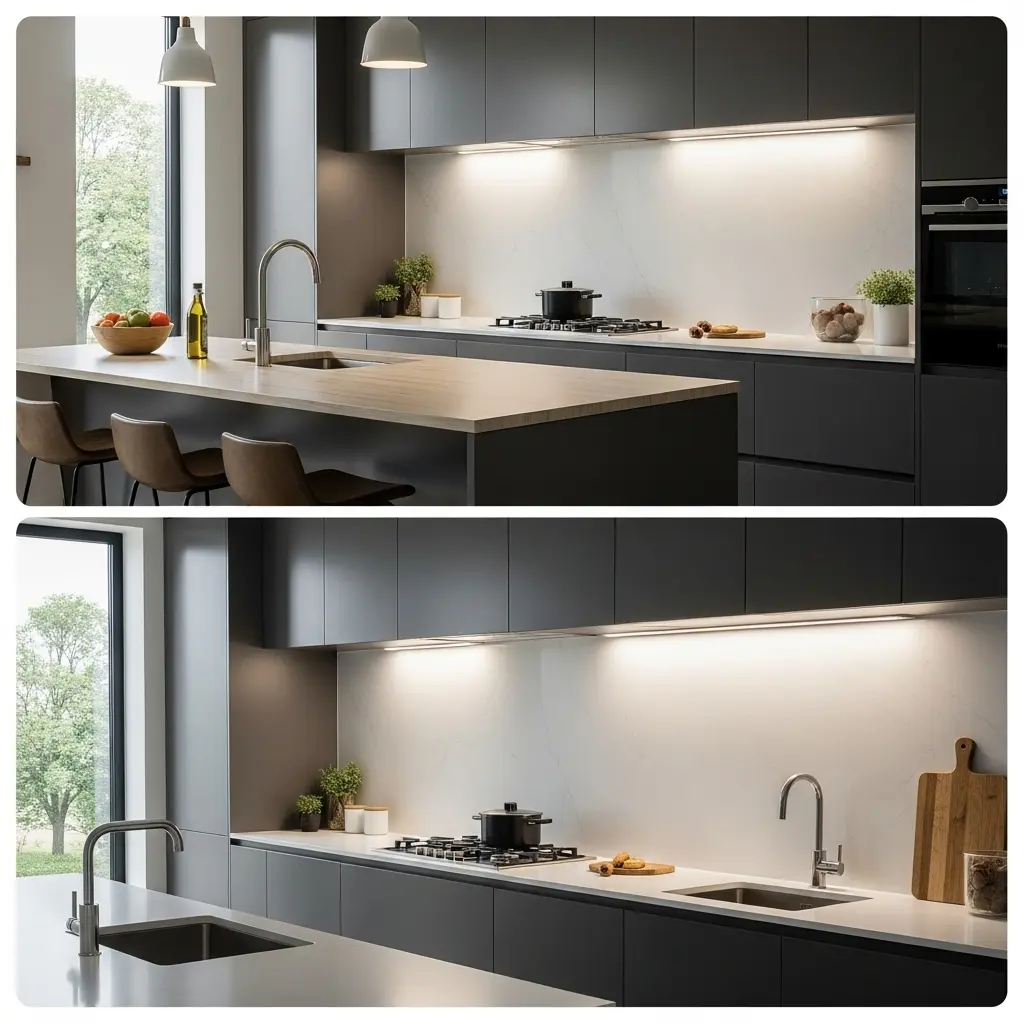
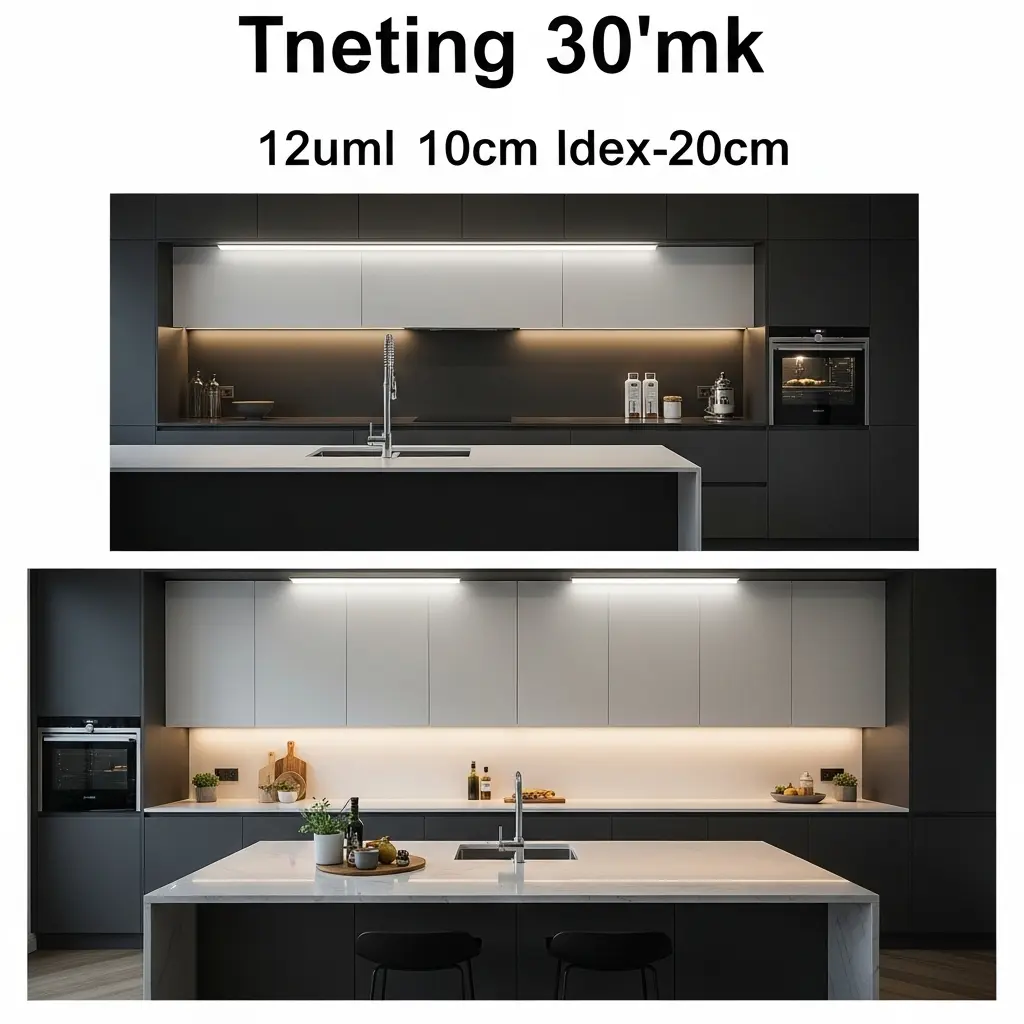
Kitchen with LED Under-Cabinet Lights: When I renovated my kitchen, I believed the ceiling lights would be enough. I soon realized they weren’t. Each evening, I squinted at the countertop, trying to see what I was cutting. The corners stayed dark, and the counters looked lifeless.
Cooking, something I usually enjoy, started feeling like a chore. That’s when I decided to install LED lights beneath my cabinets—and I’ve never looked back. It was one of the simplest yet most rewarding improvements I’ve ever made.
Why I Decided to Add Under-Cabinet Lighting
I used to think only luxury kitchens had lights under cabinets. But after years of working in dim light, I understood how important proper lighting is. I wanted something bright, energy-efficient, and easy to install without hiring anyone.
LED lights met every need—they last long, stay cool, and instantly refresh the space. The first evening I turned them on, everything changed: my countertop gleamed, my backsplash stood out, and the entire kitchen looked warm and welcoming.
Why LEDs Were the Best Choice
Before settling on LEDs, I explored a few alternatives:
-
Fluorescent lights: Inexpensive, but they flicker and hum.
-
Halogen bulbs: Bright, but they make the room hot.
-
LEDs: Safe, long-lasting, and use minimal energy.
LEDs stood out for many reasons. They can last up to 50,000 hours, use little electricity, and come in different color tones. I chose warm white (around 3000K), which gave my kitchen a cozy glow instead of the harsh blue tone you see in offices.
Types of LED Lights I Tried
Finding the right style can be confusing, but these are the options that worked best for me:
1. LED Strip Lights
Flexible, adhesive-backed strips that you can trim to any size. They provide an even light across the counter and look sleek under long cabinets.
Ideal for: Wide cabinet areas needing steady light.
2. LED Puck Lights
Small, circular lights that give focused brightness. I added a few near my coffee corner and food prep area.
Ideal for: Compact spaces or accent lighting.
3. LED Bar Lights
Slim rectangular bars that sit neatly under cabinets for a modern, minimalist look. Some models connect end to end, creating a continuous glow.
Ideal for: Clean, contemporary kitchen designs.
I used strip lights for long cabinets and puck lights near the sink. That mix gave me both brightness and balance.
Planning Before Installation
Planning makes all the difference. Here’s what helped me set up everything perfectly:
-
Measure accurately. I used painter’s tape to mark each section.
-
Avoid glare. Placing lights near the front edge of the cabinet spreads light evenly.
-
Keep wires hidden. Small clips or plastic channels make a tremendous difference in appearance.
-
Test first. Turning on the lights before final placement saved me from redoing anything later.
A few minutes of preparation ensured professional-looking results.
How I Installed the Lights
You don’t need an electrician for this project. Here’s how I did it myself:
-
Clean the surface so the adhesive sticks properly.
-
Attach or mount the lights under the cabinets.
-
Plug in the adapter, hiding the cord behind the microwave.
-
Organize the cables using clips for a neat look.
It took me less than an hour to complete the entire setup—snack break included!
Lessons from My First Attempt
My first setup wasn’t perfect, but it taught me a few valuable lessons:
-
Check brightness before buying. My first set wasn’t bright enough.
-
Match the color tone to your décor. Warm light complements beige or wood tones beautifully.
-
Clean surfaces before sticking. Dust weakens adhesive strength.
-
Plan your wiring. Hidden cords keep everything looking tidy.
Once I made those small changes, the result looked like a professionally designed kitchen.
Maintaining LED Lights
LEDs are low-maintenance, but a few habits help them last longer:
-
Dust or wipe them every few weeks.
-
Recharge battery-powered ones monthly.
-
Inspect connections occasionally.
Mine have been working flawlessly for more than a year—no dimming, no flickering, no trouble.
The Transformation
The impact was immediate. My kitchen suddenly felt larger, cleaner, and far more inviting. Guests often assume I remodeled the entire space, though all I did was improve the lighting.
Each night, that gentle glow under the cabinets creates a calm, welcoming atmosphere. It’s proof that a simple upgrade can entirely change the energy of a room.
A Small Design Tip
Lighting is as decorative as it is functional. Keeping a consistent tone between rooms adds balance.
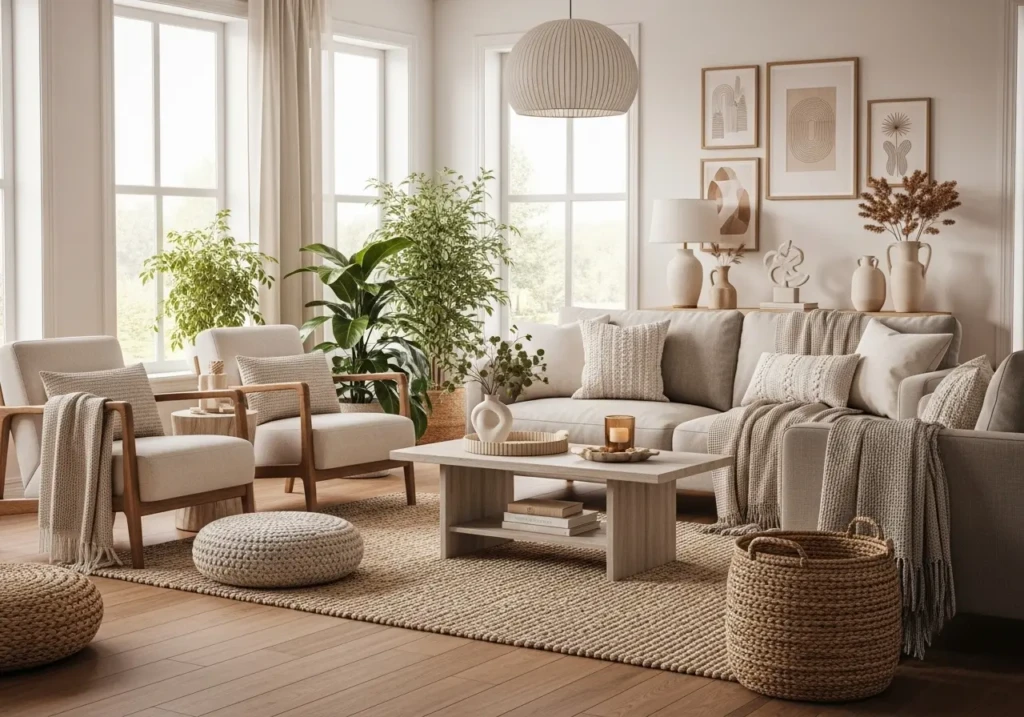
For instance, in my living room, I placed tall floor vases for living room near warm lights to highlight their color and shape. The same idea works in kitchens—soft lighting brings out the best in your décor, backsplash, and favorite mugs.
Q & A: Common Questions About LED Under-Cabinet Lights
1. Are LED lights difficult to install?
They are not difficult to install. Most come with adhesive backs or magnetic mounts. If you can handle tape, you can install them easily.
2. Do LEDs use a lot of power?
No. They consume approximately 80% less energy than standard bulbs, resulting in both financial and energy savings.
3. Can I adjust the brightness?
Yes. Many LED kits come with remotes or dimmers, letting you set your preferred brightness anytime.
4. How long do they last?
High-quality LEDs can last up to 10 years or around 50,000 hours of use.
5. Do they become hot while running?
Hardly. LEDs stay cool even after long hours, making them safe for everyday use.
Final Thoughts
If you’re considering updating your kitchen lighting, don’t overthink it—just do it. Installing LED under-cabinet lights is easy and affordable, and instantly transforms your space.
For me, it wasn’t just about adding brightness. It was about making my kitchen comfortable and inviting—a place I genuinely enjoy spending time in.